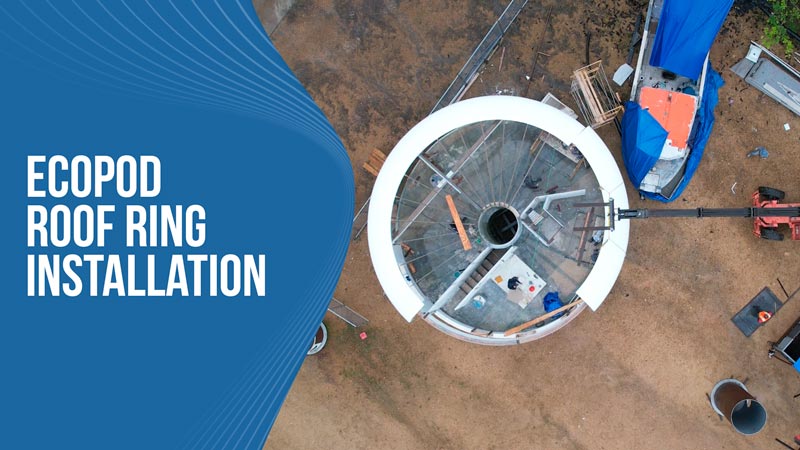
This outer ring for the EcoPod roof is made up of 28 smaller sections which are then put together into four pieces made up of seven sections each. These smaller sections are much easier to manufacture than a larger section so this process worked out pretty well.
We assembled all of the pieces on the ground to make things easier. Then, instead of installing all 28 sections individually, we simply put them up seven at a time. This was much faster and there were fewer points that needed to be adjusted.
We used the telehandler to lift each quarter section up and onto the top of the EcoPod where they were installed. This method worked great and was relatively quick. Of course, we had to make some minor adjustments along the way to make things fit properly, but the whole endeavor was relatively painless.
After this ring is installed, we will put the four quarter sections of the center of the roof in place. Once this outer ring and the inner section are installed, the main structure of the roof will be completed which is a huge step for us. We will still need to add the roof hatch but that will come later down the road.
So far, things are moving along nicely and the pieces of the puzzle are finally starting to come together! We are always appreciative of the support that we receive and we hope that you continue to follow along on this incredible journey!


