After all of the buffing, sanding, and polishing that we did on this piece, we were able to get it to the almost mirror finish that we are looking for. We checked it for deformities and we happily found none, so we can continue to the next steps of adding the coat of tooling gel and layers of fiberglass that will make up the master mold.
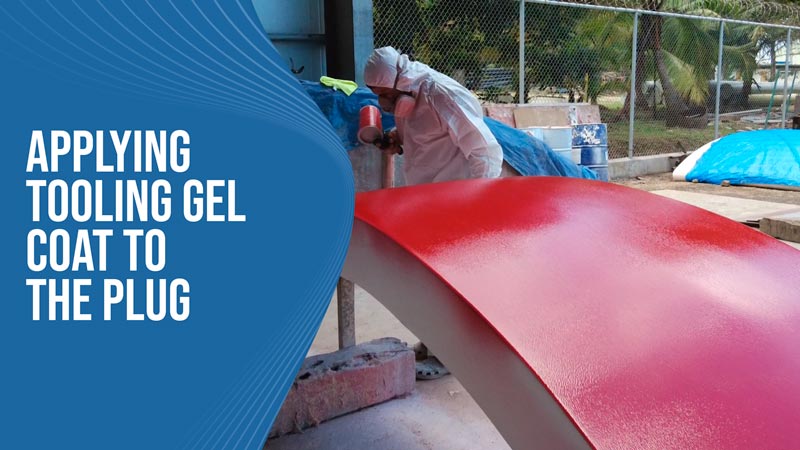
We use a paint gun to apply the tooling gel coat evenly on the surface of the plug. This allows for a smooth and consistent coat of tooling gel. The tooling gel will be the surface of our master mold so it is important that it is even so that our final product perfectly reflects the shape of the plug. The fiberglass that is applied after the tooling gel will give the mold some backbone and structure.
These layers, once cured, will be popped off of the plug section and we will have a master mold ready for use. We will then do the same process again using this same plug and we should have two master molds ready to go in a few days. As we make more molds, we are getting closer to starting the production of the actual SeaPods.
We previously found a deformation in one of our plug sections. Of course, we never want to find imperfections, but luckily we were able to catch it relatively early and we were able to rectify the issue by remaking this section. This is an example of why we are so meticulous when checking our work between each step of the process and also the level of perfection that we are chasing.