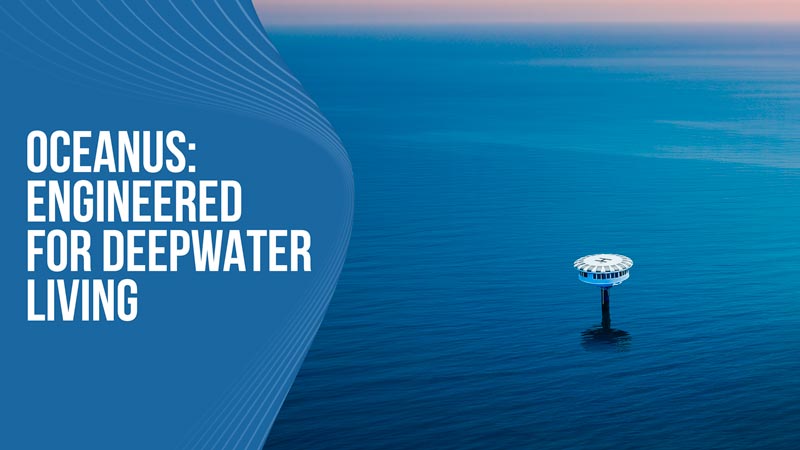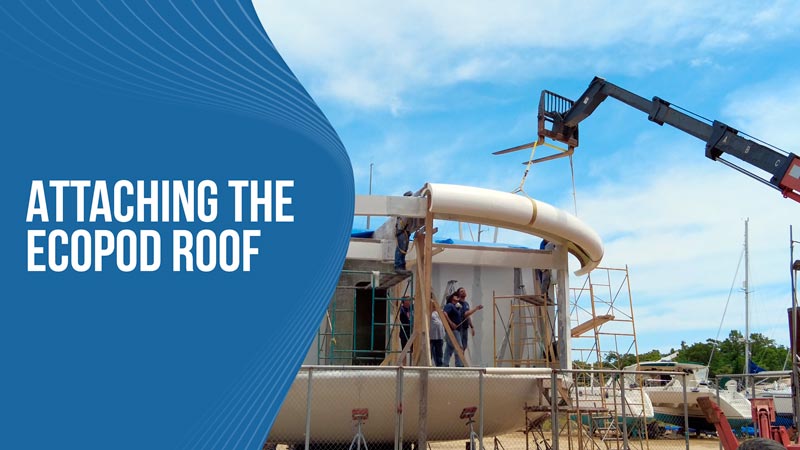
As we move closer to getting the EcoPod prototype finished up, Grant wanted to share a bit of the process of installing the outer ring of the roof. This roof is made of 28 sections which are installed together to make a big donut shape. Once the outer ring is in place we will install the center disk which is actually “flat” but has a slight cone shape to work as a rainwater collection funnel.
We found that the best way to install this ring was in quarters. So we will have four sections of seven pieces that will be installed around the rim of the home. This is the first time that anyone has ever installed an EcoPod roof so there is a bit of a learning curve and lots of experimentation so that we can determine what the best methods are for the future.
We used our telehandler to lift the sections up and then our crew worked together to make sure that everything was aligned and then properly attached. Getting this roof installed wasn’t necessarily a huge project but it was definitely a huge step for us as we get closer to the finish line. Having a proper roof will allow us to get rid of the blue tarps that we have been using to keep the weather out.
After the roof was installed, we were able to move forward and install the ceiling panels and get ready to install the windows! We are taking big steps every day and we hope you will continue to follow along with our progress. You won’t want to miss what lies ahead!