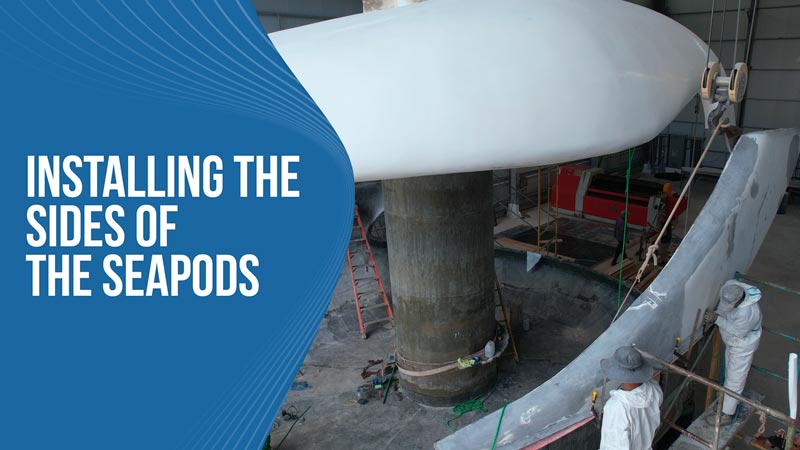
The SeaPod has three main sections, the bottom, the roof, and the sides. These side sections are critical when it comes to securing the roof section and the bottom section to hold everything together. The sides are the last section to be installed so it can be a little bit tricky.
Building this first SeaPod prototype has been quite a bit of work because we are learning as we go. We are still in development mode as we test and try new things and methods to determine the best way to build these homes when we go into full production mode. There is no instruction manual for a home that has never been built before so it is very much a work in progress as we move forward.
Installing these wall sections isn’t the easiest thing to do due to their size. We have to set up scaffolding since this entire operation is a few meters above ground level. We then use the crane to do the heavy lifting so that we can make the fine adjustments that we need to make to get everything lined up perfectly before it is permanently attached.
The SeaPod prototype is really starting to take shape. We will have most of the outer shell completed once we have these side sections in place so we are very happy with the progress and excited to get the ball rolling on the inside of the Pod. Things are moving along swimmingly here at the factory as we get this prototype closer to completion.
