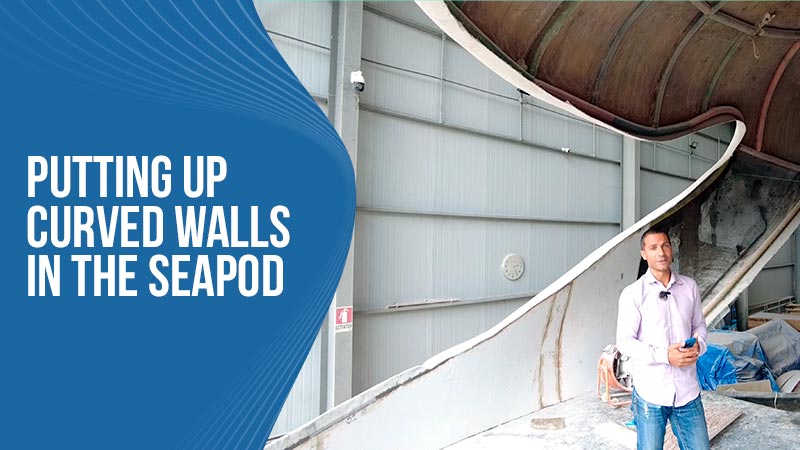
Up until now, the interior of the SeaPod prototype has just had the inner surface from the mold process. Of course, we needed to add the interior walls and so far, that process has been moving along nicely. The SeaPod is curvy and these walls are no different.
These walls are made of a honeycomb material that is pliable and malleable so that we can shape them to exactly what we want while keeping things light. Then, we apply a resin to the honeycomb material and it will be hard as a rock once cured.
This inner wall will be the surface inside the living space so the aesthetics of it are very important. We are also using an insulation foam between this inner layer and the outer layer which will help block out noise and also maintain the temperature inside the home to save energy.
Right now we are just installing the first rough layer of the walls to get the main shape and we will come back later and finish everything so that the seams between sections are hidden and everything has a sleek and smooth surface. After the SeaPod floors took a very long time and were quite the headache, we are very pleased with just how quickly the walls are going in.
The SeaPod is pretty big and we have lots of walls to install, but the team is working together to tackle the project and we should be on to the next steps very soon! We are constantly learning as we work so as we get more repetition with these projects, things tend to move faster because we are always finding better ways to get the job done!


